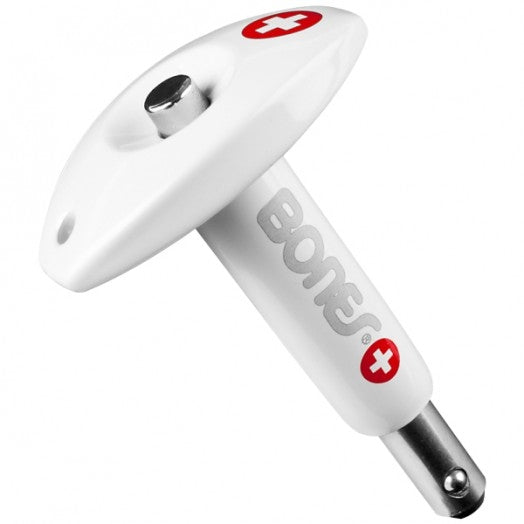
While there are many commercial small bearing pullers available on the market, you don't necessarily need to spend a lot of money to get a high-quality tool. With a little bit of creativity and some basic materials, you can create your own homemade small bearing puller that performs just as well as any store-bought alternative.

To get started on your DIY small bearing puller, you'll need a few basic materials:
- An aluminum bar or block
- Some hardware, such as nuts and bolts
- A saw or other cutting tool
- A drill or drill press
- A tap and die set (optional)
- Sandpaper or a metal file
Once you've gathered your materials, you can start constructing your small bearing puller. Here's a step-by-step guide to help you out:
1. Cut your aluminum bar or block into two pieces that are roughly the same length. These pieces will serve as the arms of your puller.
2. If necessary, use a drill or drill press to create holes in the ends of each arm. These holes should be about the same size as the hardware you'll be using.
3. Thread a bolt through one of the holes in one of the arms. Secure it in place with a nut, making sure it's tightened enough to hold the bolt in place.
4. Repeat the process on the other arm.
5. Once you have both arms prepared, you can attach them together using another bolt and nut. This bolt should be longer than the previous ones, so it can serve as the main pulling mechanism.
6. If you have a tap and die set, you can create threads in the ends of the main bolt to attach a puller attachment. This step is optional if you plan to use the tool for small bearings only.
7. Finally, use sandpaper or a metal file to smooth out any rough edges or sharp corners on your homemade small bearing puller. This will help prevent damage to the parts you'll be working with.
And there you have it - your own custom small bearing puller. With this tool in your collection, you'll be able to easily and safely remove bearings and other small components without damaging them. Plus, since you made it yourself, you can be confident that it's a high-quality tool that will serve you well for years to come.
Of course, it's important to note that there are many different types of bearings and components out there, and not all of them will be suitable for removal with a small bearing puller. If you're unsure about whether or not a specific part can be removed with this tool, it's always best to consult a professional mechanic or refer to the manufacturer's guidelines.
In conclusion, a homemade small bearing puller can be a valuable addition to any DIY mechanic's toolbox. By creating your own tool, you can save money and get a high-quality product that performs just as well as any store-bought version. Whether you're a seasoned pro or just starting out in the world of automotive maintenance, this tool is sure to come in handy on a regular basis. So why not give it a try and see what a difference it can make in your work?